

It’s that time for my annual Oakland Athletics themed manicure! This year, the first game I’ve gone to all season is my first Bark at the Park game with Pixel! We went with my best friend Rachel and her pup Appa and had a great time. Of course, I made them both cute baseball green & gold tutus and made Pixel & myself some matching bling, but I was torn when it came to my nails. Dog themed or Oakland Athletic’s themed? As the little girl in the taco shell commercials says, porque no los dos?![]()
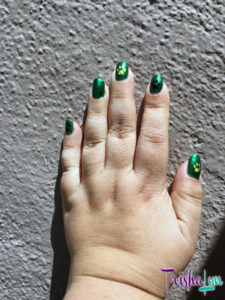 I went back to my tried & true colors I’ve been using for the last few years to represent my team – Wet ‘N Wild Fast Dry SaGreena The Teenage Witch and Orly Hook Up. I haven’t found another green that’s any better and I do have another yellow that could have worked – Pure Ice Show Stopper – but Hook Up has more shimmer and it’s a teeny tiny bottle, so I figure I might as well use it up before moving on to using a different color.
To achieve the Dog Paw on my middle finger and thumb, I used my own Paw Print Nail Vinyls as a stencil for the yellow Orly Hook Up. I pulled up the outside cut and used it as a stencil after applying the green and a quick dry top coat (my trusty Glisten & Glow HK Girl – Fast Drying + Super Shiny Top Coat). I pressed down the vinyl, making sure that the edges were adhered. I painted a thin layer of paint on each finger, then another thin layer on each before peeling off the vinyl with tweezers.
I also did the pinky nail on one hand, but it got messed up on the other hand so I just painted over it and called it good. I was going to leave it at that, but I decided that I didn’t want to waste the black vinyl paw prints that were left, so I grabbed a little bit of low-tack transfer tape (I use Con-Tact Quick Cover Clear Self-Adhesive Shelf Liner from Dollar Tree) and transferred them to my index fingers. You have to use transfer tape to get the individual pads in exactly the right orientation to the main pad when you put the multiple pieces on your nail. You can also probably just use scotch tape or blue painter’s tape or, if you’re not as OCD as I am, you can use fine point tweezers to just place each piece on your nail.
Once I’d let the yellow paint dry, I sealed in the painted designs and the vinyl decals with another layer of top coat. The manicure lasted about a week and a half before the edges of the vinyl started to cause breaks in the top coat. I like using nail vinyls because, for one, I make them myself for some designs, and two, they can usually be used twice – as a decal or as a stencil. They don’t take up a lot of room on a sheet of vinyl, so for me when I’m doing another project using my Cricut machine and I have a bit of room left, I’ll throw one on to use up the sheet.
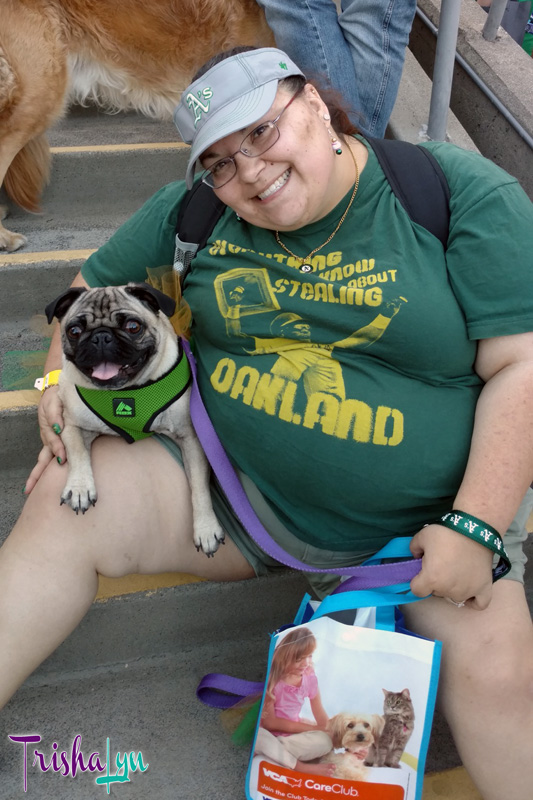 At the end of the day, Pixel and I had a great time and even the three middle-aged guys behind us complimented my nails! I’m sorry I didn’t take more photos, but the photo up there can be clicked on for the full size picture.
Get the Supplies!
Sponsors