

I am a bit of a hoarder of nail vinyls. Even though I think I’ve figured out making my own for the most part with the Cricut, I have some that I purchased from NailVinyls™ and I don’t want to just blow through them. So I tend to forget I have them. I’ve been in a bit of a nail art rut lately while working on other projects and having some pain issues in my left thumb, so I decided I wanted something simple to do, yet fun, to shake things up a bit.
 I had bought the Lightning Bolt NailVinyls™ after seeing the negative space manicure on the product page shared and falling in love with that idea. They’ve proceeded to sit in my Helmer now for over a year (yes, I had to login & check when I ordered them!). I was getting ready to go to a water park for the first time in at least 16 years (not any water park, just this particular one) and wanted something fantastic, vibrant, & bright. I didn’t necessarily want to do that exact negative space/matte manicure I’d originally fallen for since matte polish and top coat doesn’t stand up to chlorine and water nearly as well as most glossy top coats.
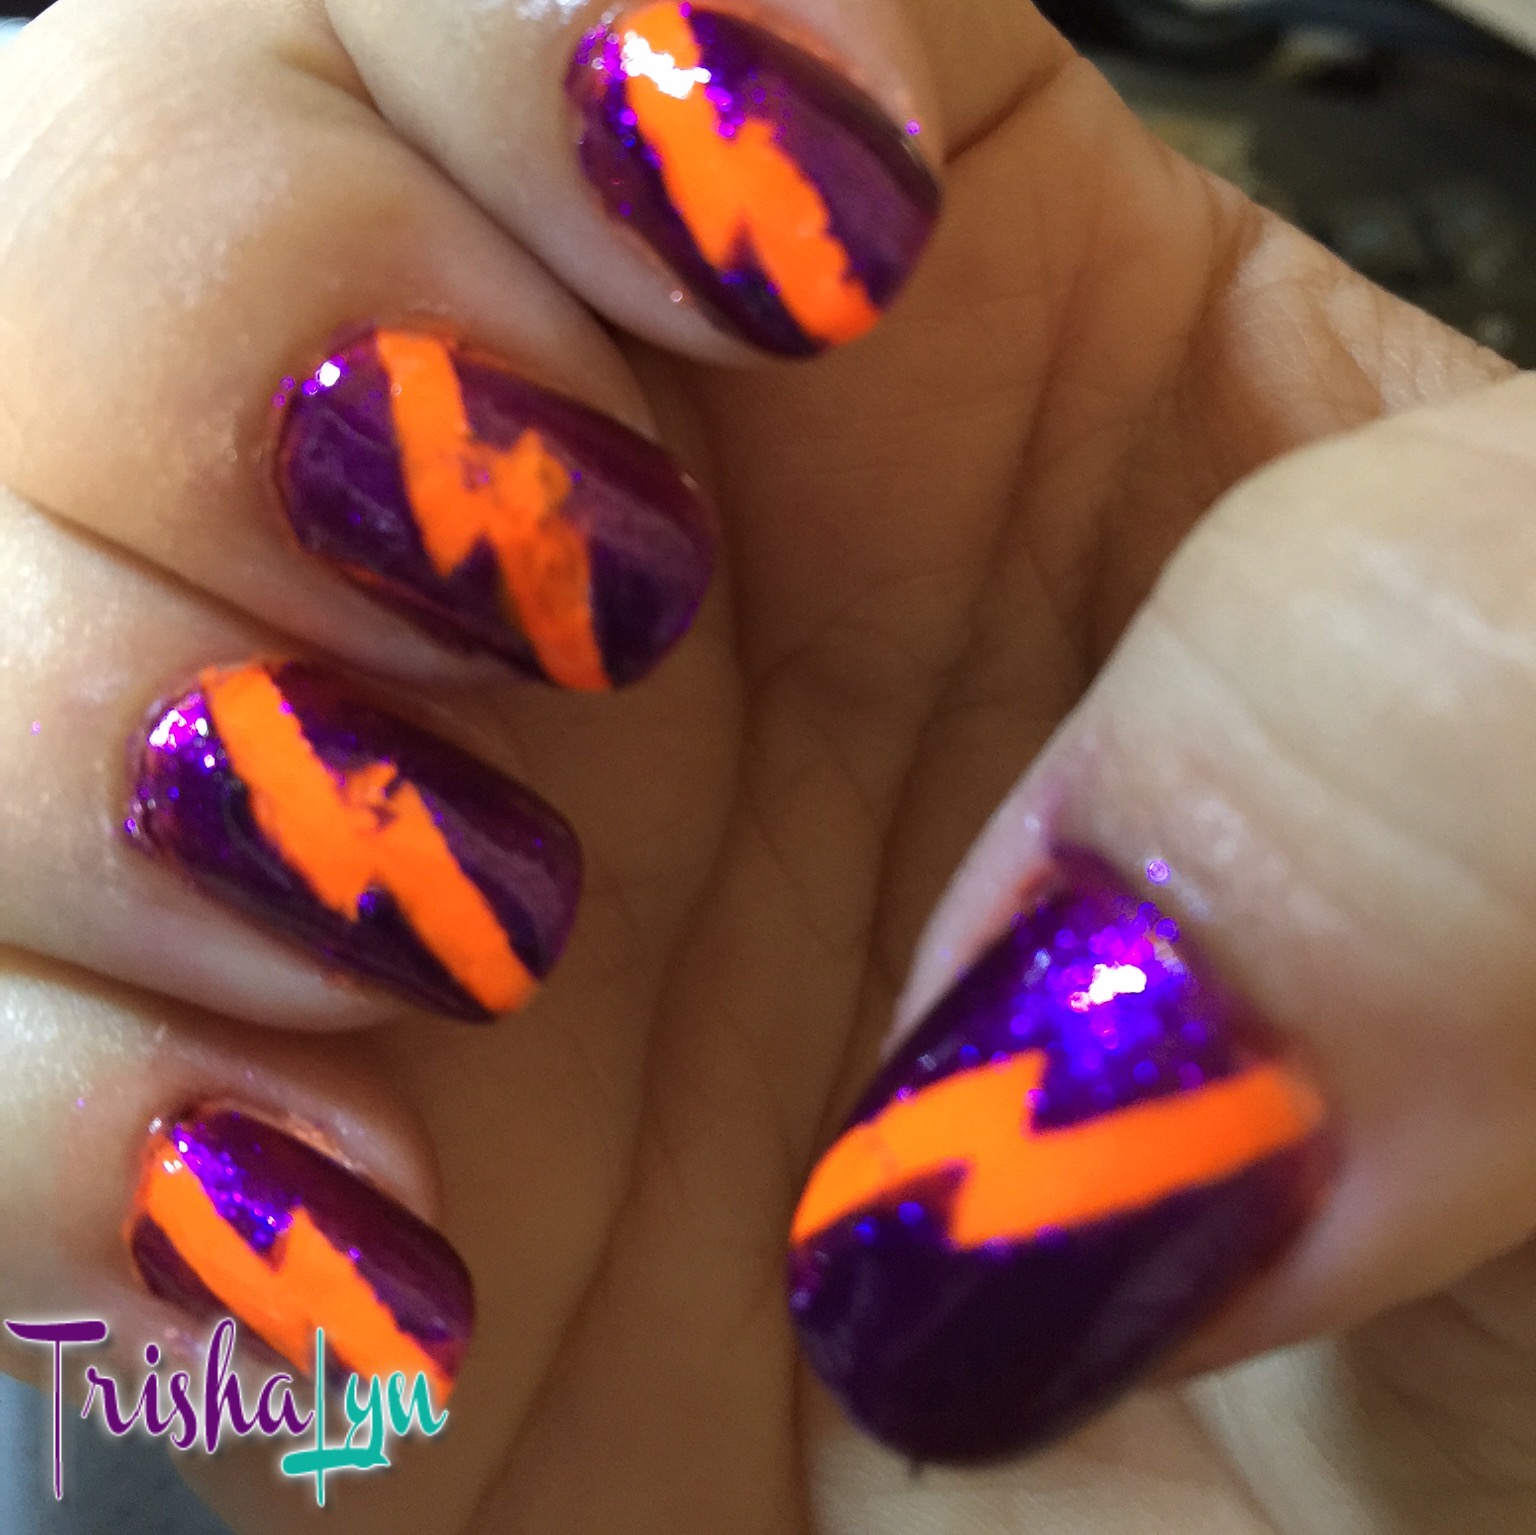
I started with a base of Salon Perfect Traffic Cone, the brightest, most fluorescent orange I have, and decided to go with a deep shimmery purple on top, so I grabbed Finger Paints Wild Bikini from last summer’s Poolside Paradise Collection. I kind of liked the contrast in the opaque fluorescent orange bolt with shimmery purple, which is why I didn’t opt to use Fingers Paints Aloha Lei, which was also part of the same Poolside Paradise Collection. However, as you can see in the picture… things went slightly awry.
I have only used nail vinyls in general a couple of times – and when using the Vinyls for a Cause from NailVinyls™ for my Save the Tatas: Breast Cancer Ribbon Manicure, I didn’t use them as stencils, but used the ribbon itself as decoration. Come to think of it, even when I made my own vinyls for the Rubber Ducky Baby Sprinkle manicure, I didn’t paint over and remove, but used as decorations. So I was really in uncharted territory and didn’t realize it until it was too late. I painted the orange first, allowing it plenty of time to try. Then, I applied the NailVinyls™ and painted the purple over it. I waited a few minutes for it to set a little, then used tweezers to peel off the vinyls.
For the record, my left hand looked much better than the right hand, but I didn’t take a picture, expecting only to share this as a fail. At first, I blamed the shoddy lines and bad bleeds on those two fingers on the fact that the vinyls broke in half at the midway point while trying to remove them. Which was a bummer, and I thought was because maybe I left them on for too long. However, after doing some research, it seems that I should have put a layer of quick-drying top-coat onto the orange before putting on the purple. I guess that will make the vinyl remove easier and make for sharper lines.
So it just goes to show – always do some research before trying out a new technique! You cannot get the same results as a photo without reading how they did it 🙂